Introduction to the Browser's Developer Tools
Overview
This section starts with an introduction to the browser's Developer Tools, a powerful suite of tools aimed at web developers that are provided by every modern web browser.
Section Files
We'll be using the DWC1.bbj file during this section of the course.
Concepts Covered in This Section
- Accessing the browser's Developer Tools
- A brief tour of the Developer Tools and their major features
- Modifying the text and style of a BBjControl in the Developer Tools
Developer Tools Features
The browser's Developer Tools are designed to help web developers with any imaginable web-related task, and since we're now running BBj graphical applications in a web browser, we officially qualify as web developers!
Even if you've never used the browser's Developer Tools before, after these exercises you'll be able to inspect and edit a BUI or DWC app's Document Object Model (DOM) as well as the DIVs that comprise every BBjControl.
The tools help us with:
- Editing DOM elements - Access BBjControls directly in the Elements/Inspector tab by modifying HTML, text, class names, attributes, inline styles, etc.
- Console access - View messages & errors, debug programs, and execute JavaScript
- CSS styles viewing - See all CSS styles associated with an element from all sources, and which styles were chosen vs. ignored
- Source viewing - Access cookies, local/session storage, images, scripts, and stylesheets with pretty-print for minified sources
- Performance profiling - Profile network and memory performance, including bandwidth throttling to simulate slower networks
- Device simulation - Simulate responsive and mobile devices for testing CSS layouts
Example 1 - Opening the Browser's Developer Tools
Step 1: Run the Program
Load the DWC1.bbj program from the first chapter and run it in the DWC. If the program runs inside a browser window in Eclipse, reconfigure Eclipse to use your default system browser.
Step 2: Open Developer Tools
Open the browser's Developer Tools using one of these methods:
| Method | Instructions |
|---|---|
| Context Menu | Right-click on the page and choose 'Inspect' (Chrome, Edge, Firefox) or 'Inspect Element' (Safari) |
| Menu Bar | Chrome: View > Developer > Developer Tools Edge: Tools > Developer > Developer Tools Firefox: Tools > Browser Tools > Web Developer Tools Safari: Develop > Show Web Inspector |
| Keyboard | Windows: F12 or Ctrl + Shift + ImacOS: ⌘ + ⌥ + I |
The context menu option has the added benefit of selecting the Elements tab and highlighting the code for the element you clicked.
Step 3: Configure Developer Tools
The Developer Tools offer configuration options including:
- Dock location - Display horizontally below, vertically left/right, or in a separate window
- Light/dark mode - Choose your preferred theme
- Color format - Set default color format
Step 4: Key Sections to Know
| Tab | Purpose |
|---|---|
| Elements | Displays the DOM (underlying HTML) that makes up the DWC app |
| Console | Displays output, messages, warnings, errors, and allows JavaScript execution |
| Application | Shows cookies, local/session storage, images, scripts, stylesheets |
| Styles | Shows all styles for the selected element; Computed styles shows only rules in effect |

Example 2 - Modifying a DWC App in the Developer Tools
Step 1: Find and Modify the Title Bar
Find the element associated with the BBj app's title bar text:
- Click the element selection tool at the top left of Developer Tools, then click the title bar
- Search for "dwc-frame-titlebar-text" using
Ctrl+F(Windows) or⌘+F(macOS) - Expand disclosure triangles in the Elements tab until you find the DIV
Change the text by either:
- Right-clicking and choosing "Edit Text"
- Double-clicking the text to enter edit mode
Step 2: Change Title Color
- Select the correct DOM element
- Go to the Styles tab
- Find the "dwc-frame-titlebar-text" class definition
- Click the closing curly brace
}and typecolor: green

After adding the color style:

Changes made in Developer Tools are temporary and will disappear on page refresh. This is perfect for quick testing before making permanent changes in your code.
Step 3: Enable/Disable Styles
Mouse over styles in the Styles tab to see checkboxes. Uncheck to temporarily disable a style.
Step 4: Use CSS Custom Properties
Change the color value to a DWC CSS custom property:
color: var(--dwc-color-danger)
After typing var(, you'll see code completion with all DWC CSS variables including color swatches.
Example 3 - Setting CSS Styles on Controls
Step 1: Set Color in Code
Set the text color to green on a label:
st!.setStyle("color", "green")
Step 2: Use CSS Custom Properties
Use the DWC's CSS custom property for the "info" theme (purple):
st!.setStyle("color", "var(--dwc-color-info)")
Going the Extra Mile
Change Background Color
Set the background to a light yellow using the warning theme at 90% lightness:
st!.setStyle("background", "var(--dwc-color-warning-90)")
The -90 ending indicates 90% lightness (0% = black, 100% = white).
Button Background Considerations
When changing a BBjButton's background, use background not background-color:
btn!.setAttribute("expanse","xl")
REM btn!.setAttribute("theme","success")
btn!.setStyle("color", "var(--dwc-color-info)")
btn!.setStyle("background", "var(--dwc-color-warning-90)")
The background property is a CSS shorthand that combines eight constituent properties (attachment, clipping, color, image, origin, position, repeatability, and size). Using background-color only affects the color, which may not override other background properties.
Complex Background Example
logo$ = "'https://basis.cloud/wp-content/uploads/2023/07/logo_basis_v2.svg'"
texture$ = "'https://public.basis.cloud/Training/images/lightSwirls.jpg'"
value$ = "url(" + logo$ + ") left 1em bottom 0.5em/auto 25% no-repeat, url(" + texture$ + ") left top/150px repeat"
wnd!.setStyle("background", value$)
This sets two backgrounds: the BASIS logo on the bottom left and a swirly pattern covering the entire window.
More Information About the Browser's Developer Tools
Style Specificity
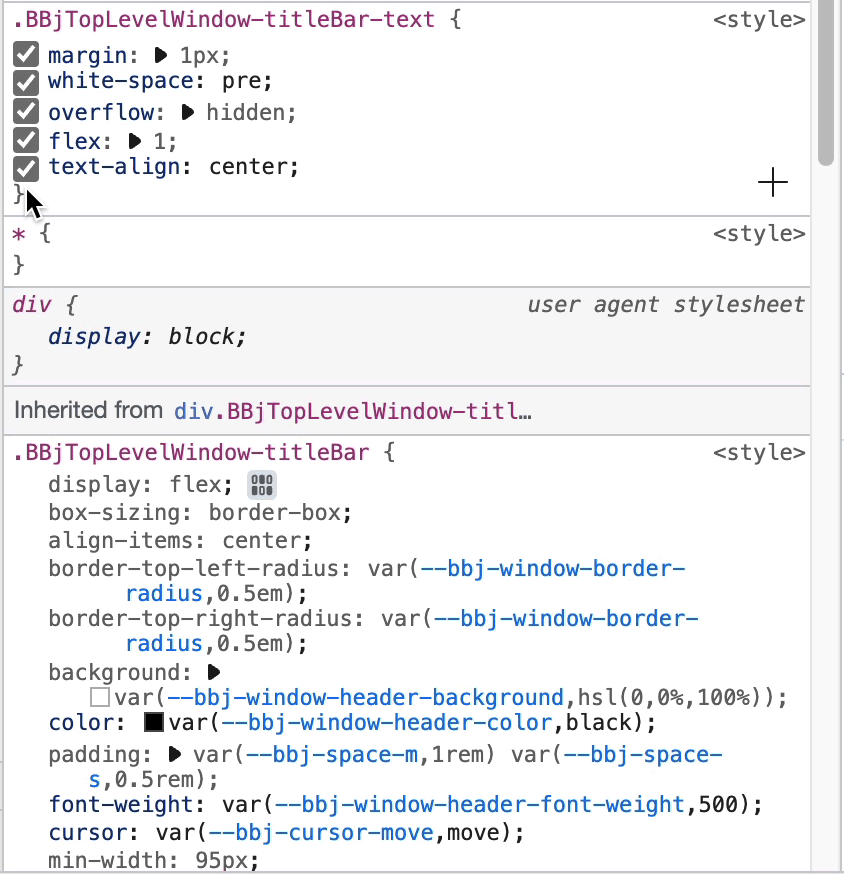
When selecting an element, the Styles section shows:
- element.style - Inline styles affecting only that element (highest specificity)
- Class styles - Styles applying to all elements with that class
- Universal styles (*) - Styles applying to all elements
Crossed-out declarations indicate they've been overridden by higher-specificity rules.
See the Mozilla documentation on specificity for more information.
CSS Grid Visualization
Clicking on a panel element in the Elements tab overlays a grid showing:
- Green - Padding
- Purple - CSS Grid gaps
- Blue - CSS Grid cells containing BBj controls

Click the small grid tag next to elements with CSS Grid to see sizing information. The Layout tab provides additional grid overlay controls.
